Composting at home is a great way to reduce waste, enrich your garden soil, and contribute to a healthier environment. If you’re new to composting, it might seem a bit overwhelming at first, but with some simple tips and guidance, you can start creating your own compost pile or bin with ease. This beginner-friendly guide will walk you through the basics of composting, what materials to use, and how to maintain your compost for the best results.
What Is Composting?
Composting is the natural process of recycling organic materials like food scraps and yard waste into a rich soil amendment called compost. This dark, crumbly substance is packed with nutrients that help plants grow stronger and healthier. Composting reduces the amount of waste sent to landfills and decreases greenhouse gas emissions.
Choosing a Composting Method
Before you begin, decide which type of composting setup works best for your home:
– Compost Bin: A container designed specifically for composting, often made of plastic or wood. It helps keep things neat and contained.
– Compost Pile: An open heap of organic materials, suitable for larger outdoor spaces.
– Tumbler: A rotating container that makes turning and mixing easier.
– Vermicomposting: Using worms to break down kitchen scraps, ideal for small spaces or indoors.
For beginners, a simple compost bin or pile in a backyard or garden is usually the easiest to manage.
What Can You Compost?
Knowing what to add to your compost is key. Materials fall into two categories: “greens” and “browns.”
Greens (Nitrogen-rich materials)
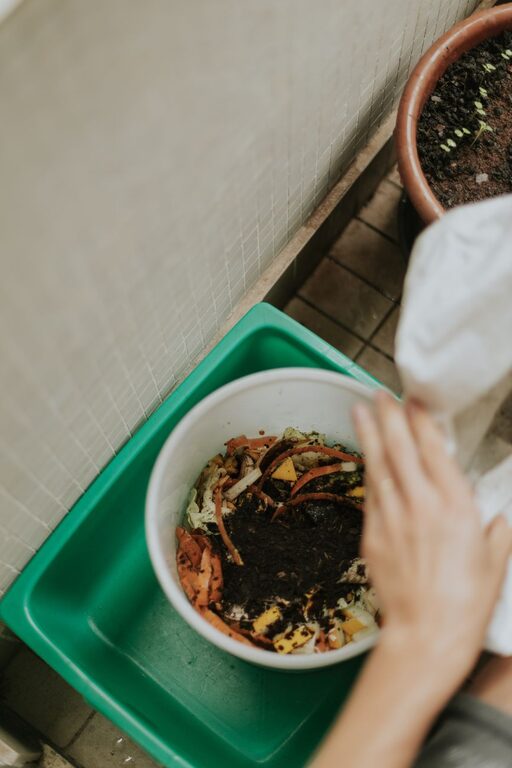
– Fruit and vegetable scraps
– Coffee grounds and filters
– Grass clippings
– Tea bags (without synthetic wrappers)
– Fresh garden waste like leaves and flowers
Browns (Carbon-rich materials)
– Dry leaves
– Straw or hay
– Shredded newspaper or cardboard
– Small branches or twigs
– Sawdust (from untreated wood)
What NOT to Compost
Avoid adding meat, dairy, oils, diseased plants, pet waste, or treated wood, as these can attract pests or cause odors.
Setting Up Your Compost
- **Choose the right spot:** Pick a dry, shady area with good drainage.
- **Prepare the base:** Start with a layer of browns like twigs or straw to help aerate.
- **Add materials in layers:** Alternate between green and brown materials to balance nitrogen and carbon.
- **Keep it moist:** Compost should feel like a damp sponge—not too dry or soggy.
- **Turn regularly:** Mix your compost every 1 to 2 weeks to add oxygen and speed up decomposition.
Tips for Success
– Balance your greens and browns: A good rule of thumb is roughly 3 parts browns to 1 part greens.
– Chop or shred materials: Smaller pieces break down faster.
– Avoid compacting: Keep the compost loose to allow airflow.
– Use a thermometer: If you want to monitor progress, compost piles can heat up to 130-150°F when active.
– Be patient: Composting can take anywhere from a few months to a year depending on conditions.
Harvesting Your Compost
Your compost is ready when it looks dark, crumbly, and smells earthy—no signs of the original scraps. You can sift it through a screen to remove any large pieces and use the finished compost in your garden beds, pots, or lawn.
Benefits of Home Composting
– Reduces household waste and landfill use
– Saves money on fertilizers
– Improves soil structure and moisture retention
– Encourages beneficial microorganisms and earthworms
– Supports a sustainable lifestyle
Common Challenges and Solutions
– Odor: Usually caused by too many greens or wet conditions. Add more browns and turn the pile.
– Pests: Avoid meat and dairy; use a bin with a lid or mesh.
– Slow decomposition: Chop materials finer, keep moisture balanced, and turn more often.
Final Thoughts
Starting a compost pile at home doesn’t require special skills or much space. With a bit of attention and patience, you’ll transform kitchen scraps and yard waste into valuable compost that will benefit your garden and the planet. Remember, every small step toward composting helps reduce waste and foster a greener environment.
Happy composting!
About the Author